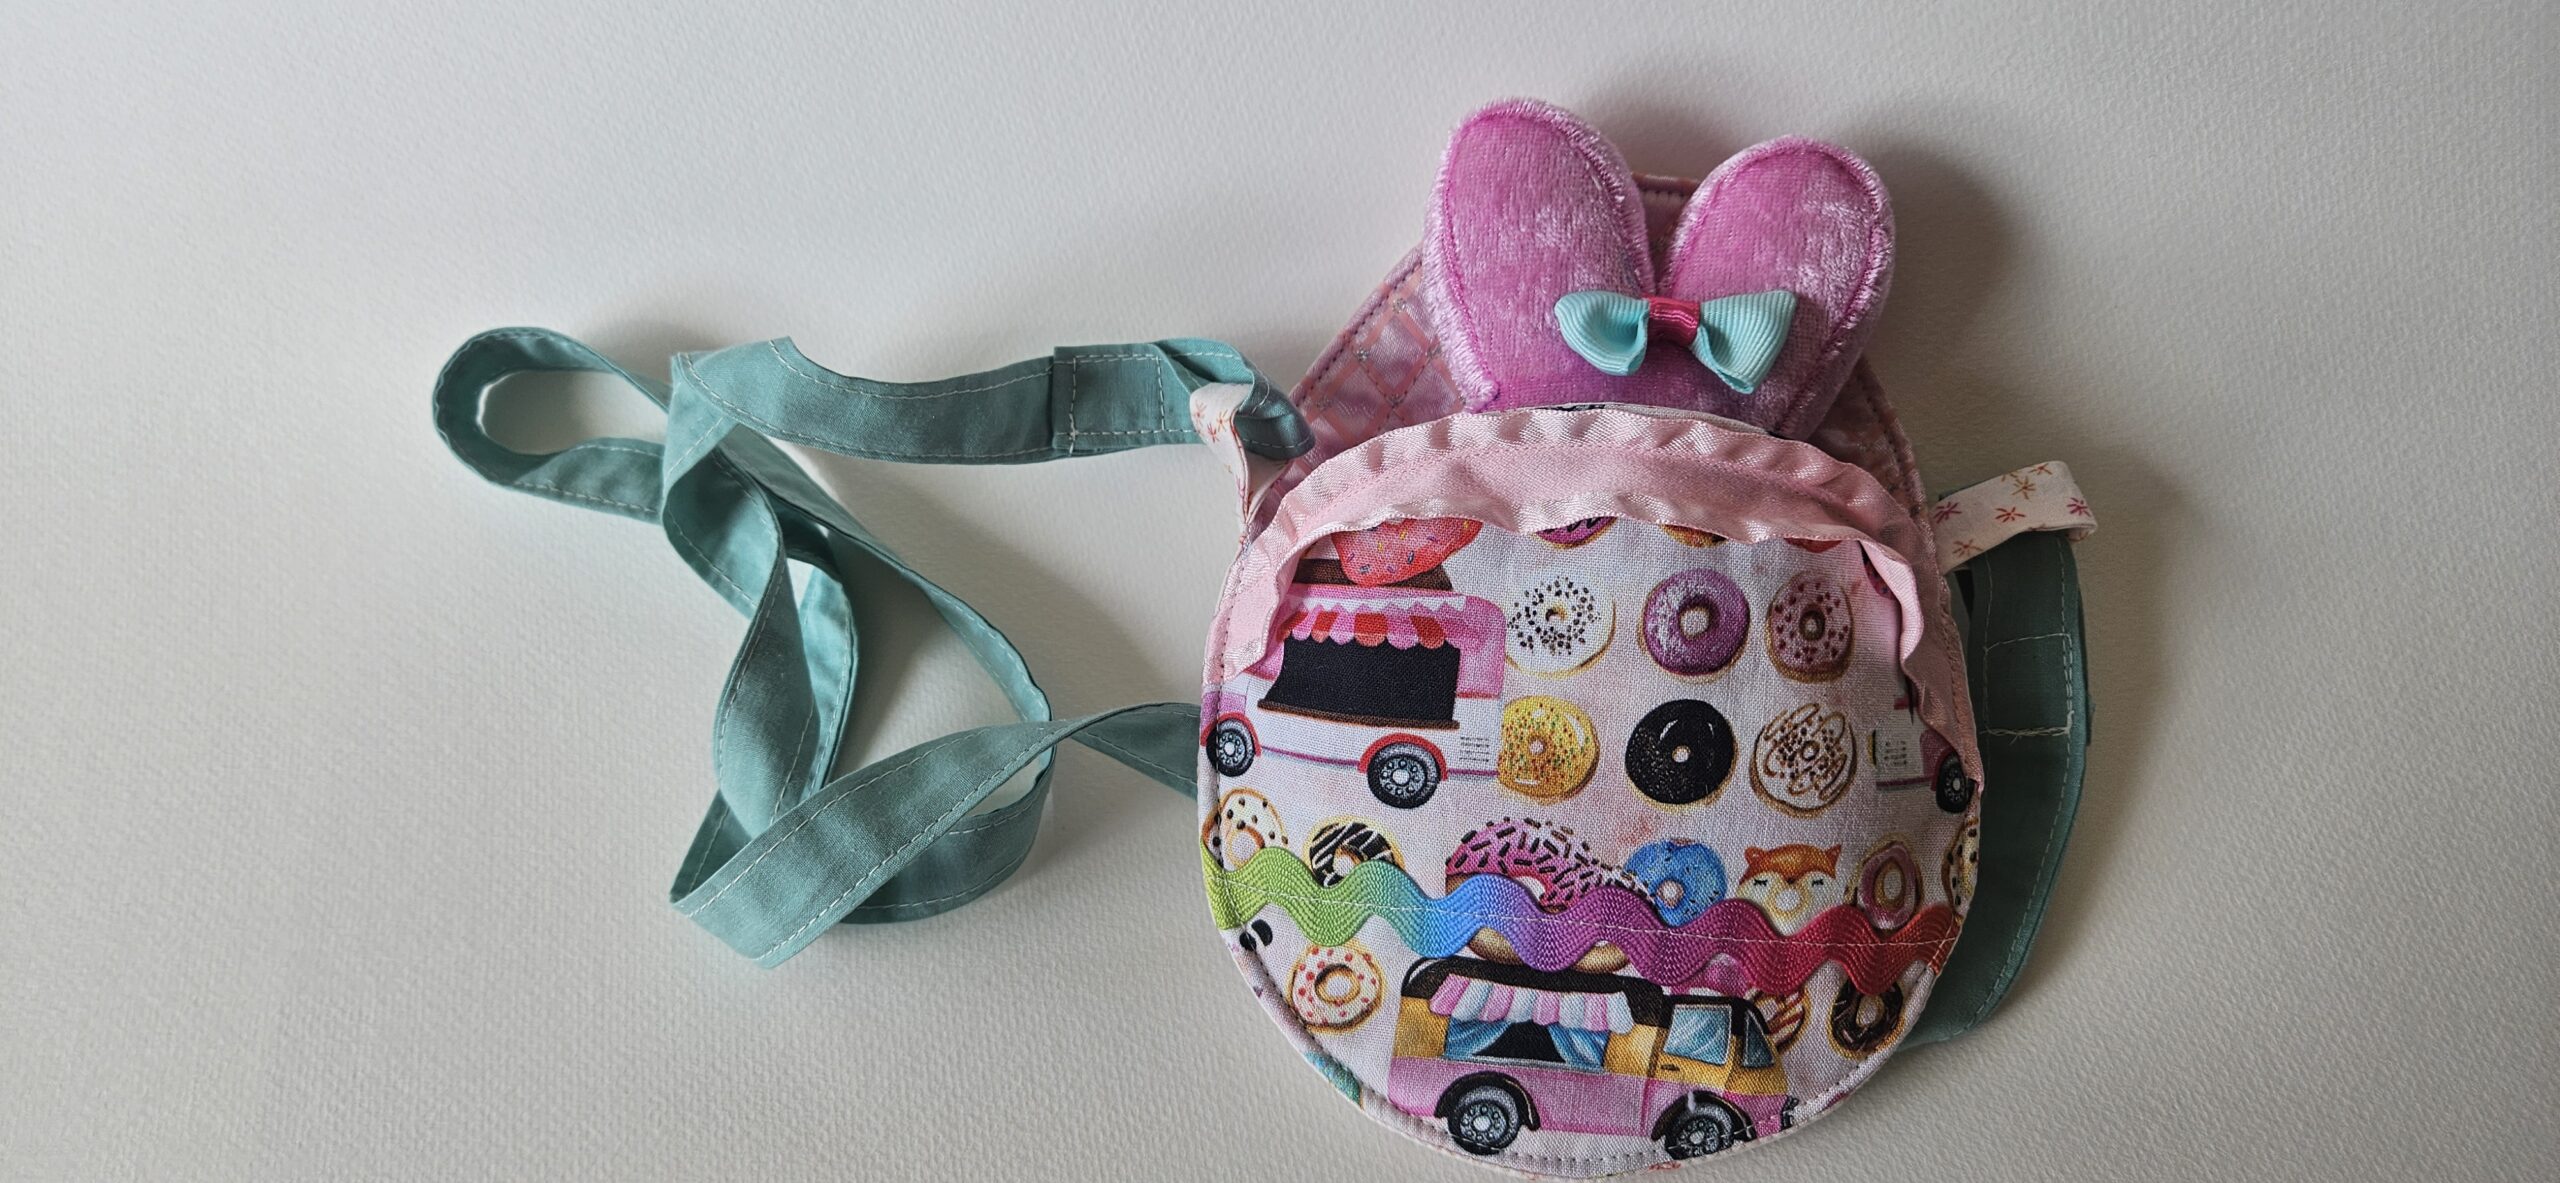
Easter Egg Bag
An Easter egg shaped mini purse is a great, quick project that pays off in cuteness and usefulness! Children will love using their special egg bag to carry a bespoke bunny plushie, or some extra Easter loot. Read along to learn how to make one, or check out the video tutorial below. FREE PATTERN AVAILABLE!
Step 1
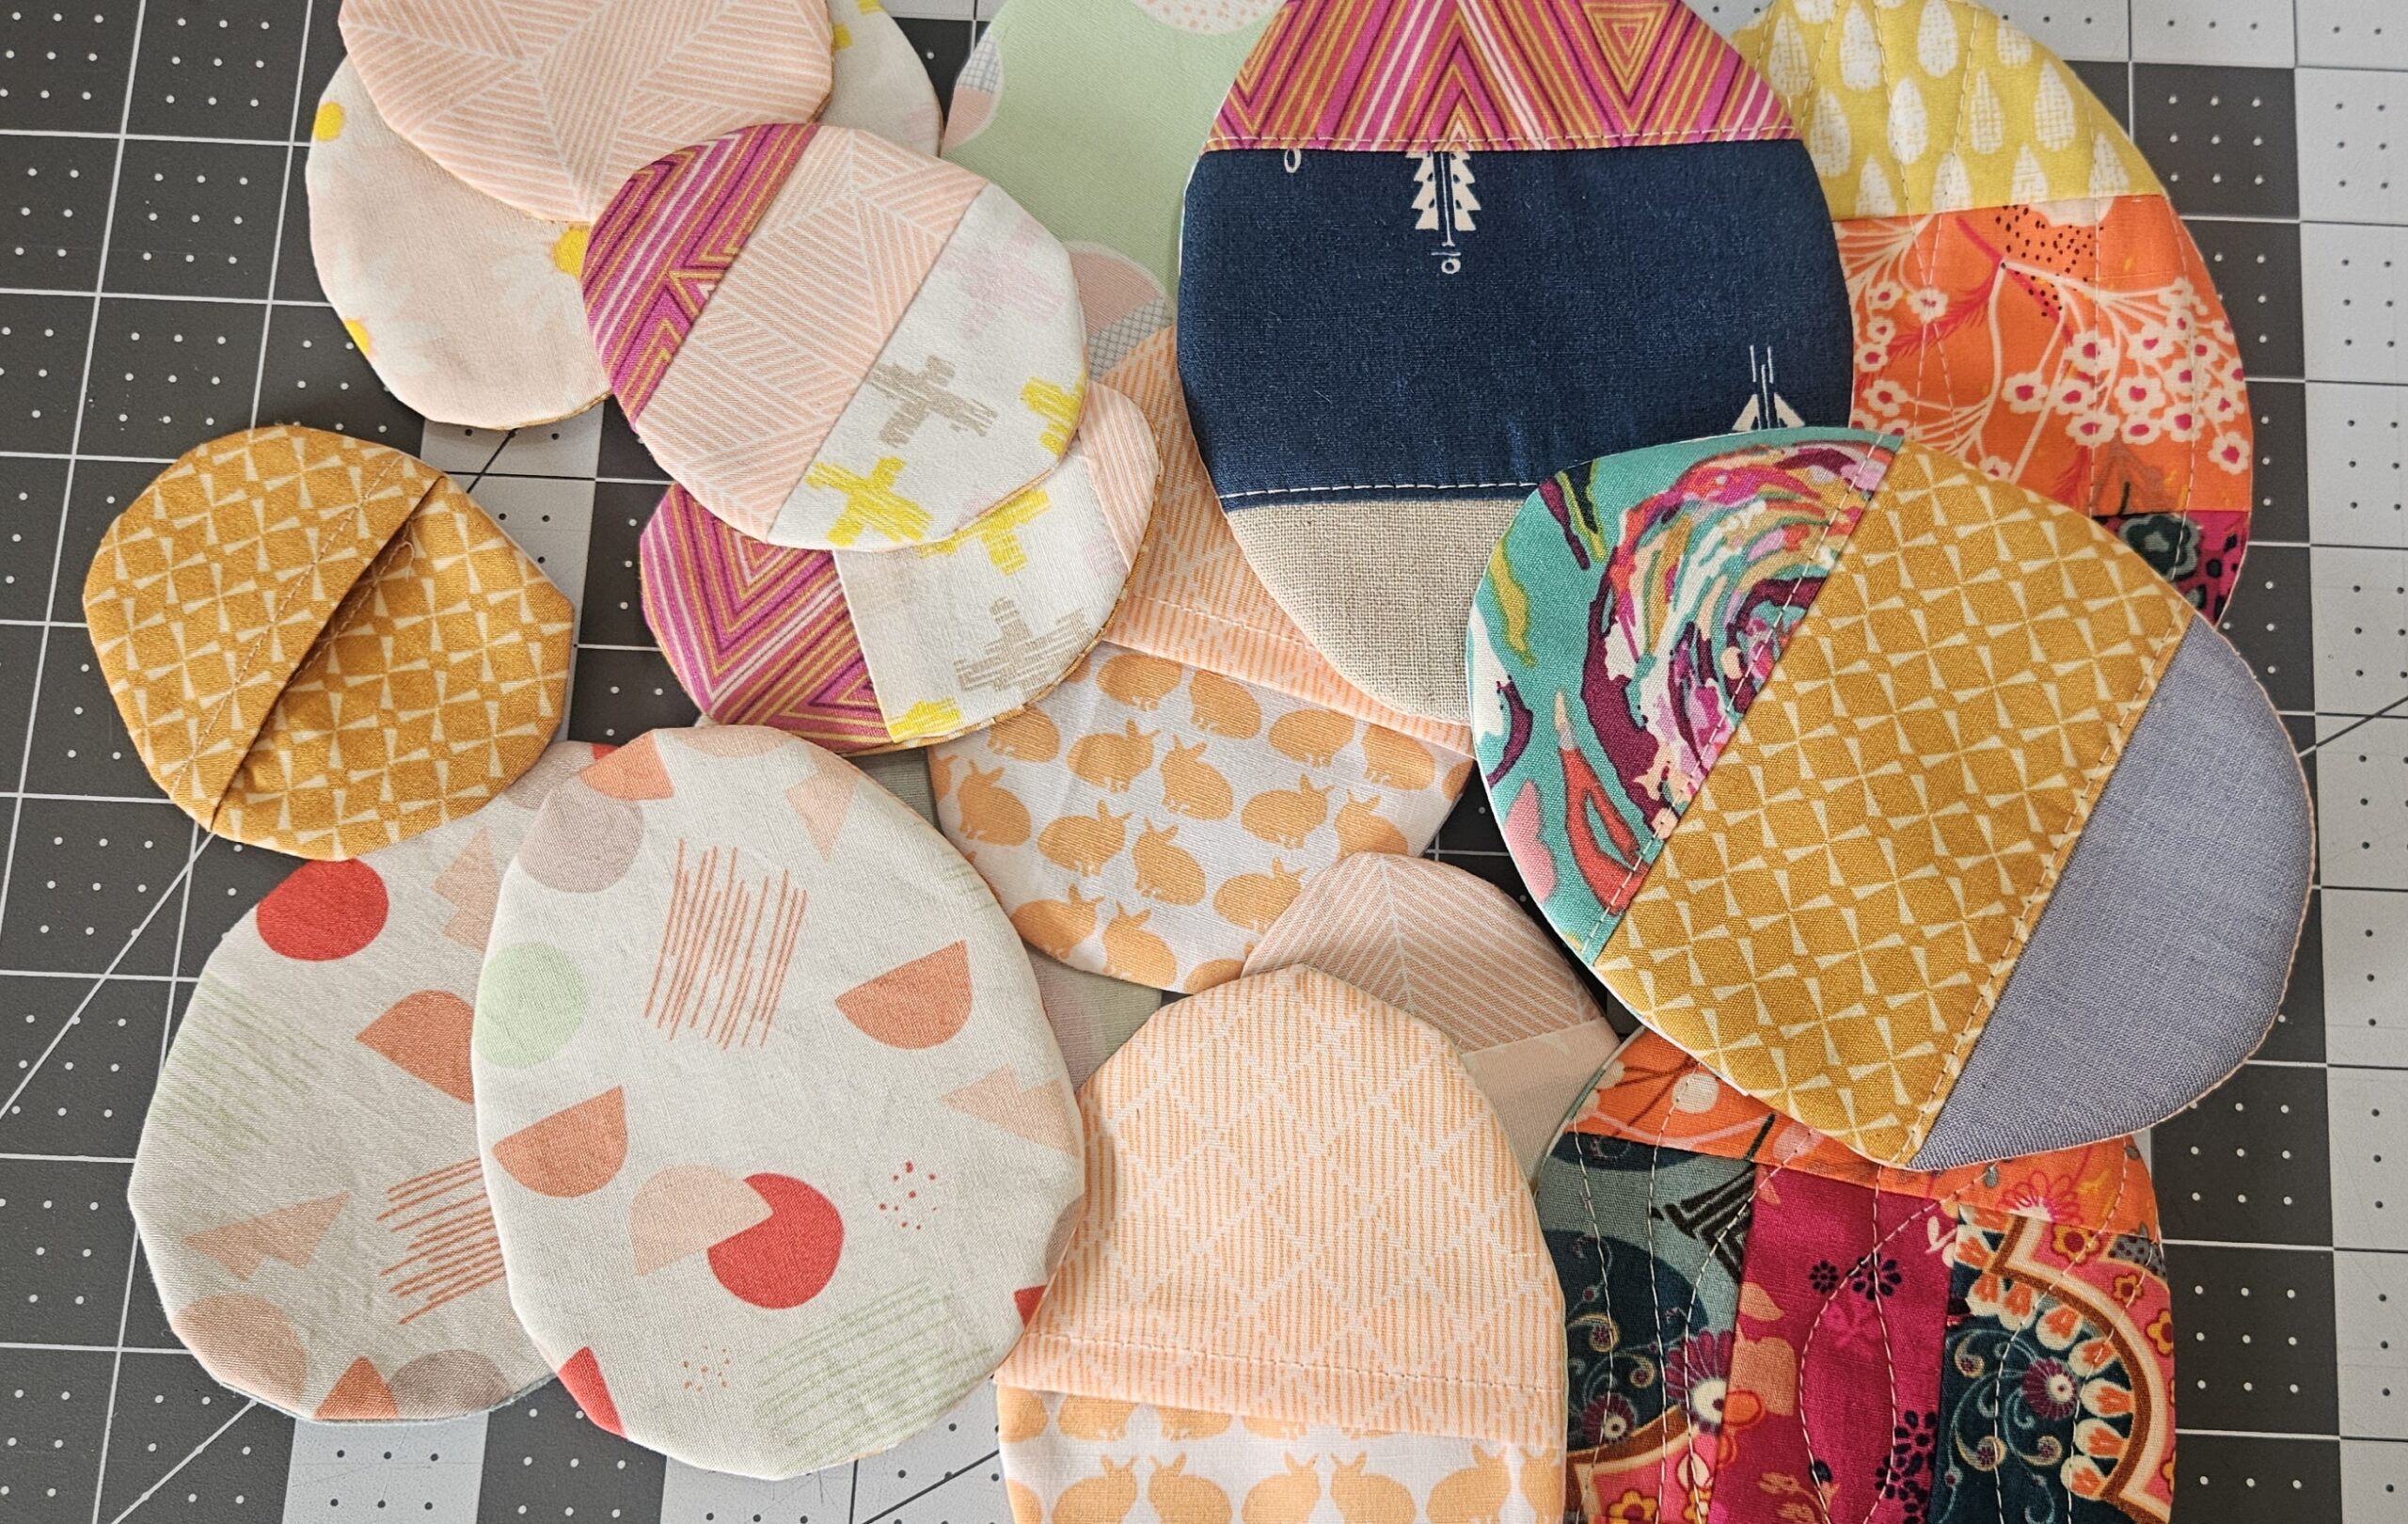
Select your fabrics, and cut out your pattern pieces.
- Front Pocket: cut 1- Main fabric, cut 1- lining fabric, cut 1- interfacing or fleece.
- Main Piece: cut 2- Coordinating fabric, cut 1 interfacing or fleece.
If you’re using interfacing fuse it now. I ALWAYS have tons of fleece scraps so I prefer that for some soft, quilty stability.

Step 2
Time to do round one of sewing!
To sew the front pocket place the fleece down, the fabric front on top (right side up) the lining on top, facing down, so Right Sides Together (RST). Sew the front at ½” s.a.
To sew the purse strap sew the fabric RST into a fabric tube, sew the end so it’s easier to flip later. Sew the strap loops the same way.
If using fleece or quilt batting place the fabric and fleece together and quilt together.

Step 3
Grade and trim your top pocket seam and clip the curves. Flip the lining over and pin.
Flip your straps right side out. Get a large boba straw or similar and put inside, now get a pencil, eraser first and push it out. Super fast and easy-peasy. They sell actual loop turners, but sadly I’ve lost them as well. I also use the classic safety pin method on the little loops.
Step 4
Pressing Round 1! Press your strap and loops. Press your pocket top.
Step 5
Sewing Round 2! Top-stitch across top of pocket. Add ric-rac or ribbons now if you’d like.
Place your Front pocket onto your Main piece, right sides up, pin and baste the edges. Baste the loops to the Main back piece as marked. Position them with edges out a bit beyond the seam edge, and loops facing into the egg.

Step 6
Place your BACK main piece on top of the egg, RST and pin. Sew the seam at ½” starting at the mark on the top, going around until the finish mark, leaving an opening at the top to flip it.
Edge stitch the strap on both sides. You can use a edge stitch foot to keep it nice and even.

Step 7
Trim, grade and notch the edges of the sewed seam. If you trim with pinking shears you don’t need to worry about notching. Too bad both of mine are still lost. So, trim the thicker edges shorter than the back back piece and snip little notches into the seam allowance. Leave the opening untrimmed.

Step 8
Pressing Round 2! Flip right side out, push out the edges, smoothing out the curves and press.
Glue or copy the pressing guide for the top opening onto cardstock or packaging. Press both sides of the opening, turning the seam allowance to the inside and pin carefully together. Hand baste or pin it closed.
Lastly, press the strap again and press the edges over ½”.
Step 9
Final Round of Sewing!
Top-stitch around the whole egg, making sure to catch both sides of the opening. Take out basting stitches if you have them.

Step 10
Thread the straps through the loops and check the length at this time. If you’re happy with it pin the ends down and sew a box 1” wide to tack it securely. This was designed as a simple sew, but you could add hardware to make it adjustable or leave one end unsewn and tied to the loop to be able to adjust down the road.
Last Step! Put a cute stuffie inside and… VOILA! You have your own super cute egg purse to hold a special plushie or treat!
Get the pattern and detailed printable directions by signing up to my mailing list.
If you needed a step by step video tutorial for clarification check out my youtube tutorial below!
But this purse is just cheeping out loud for a bunny shaped plushie to put inside! If you want to learn how to make a bunny shaped plush to fit into the egg purse, check out my blog post on how to make one, included in the pattern!