Sewing Tutorial for Mini Easter Bunny Plushie
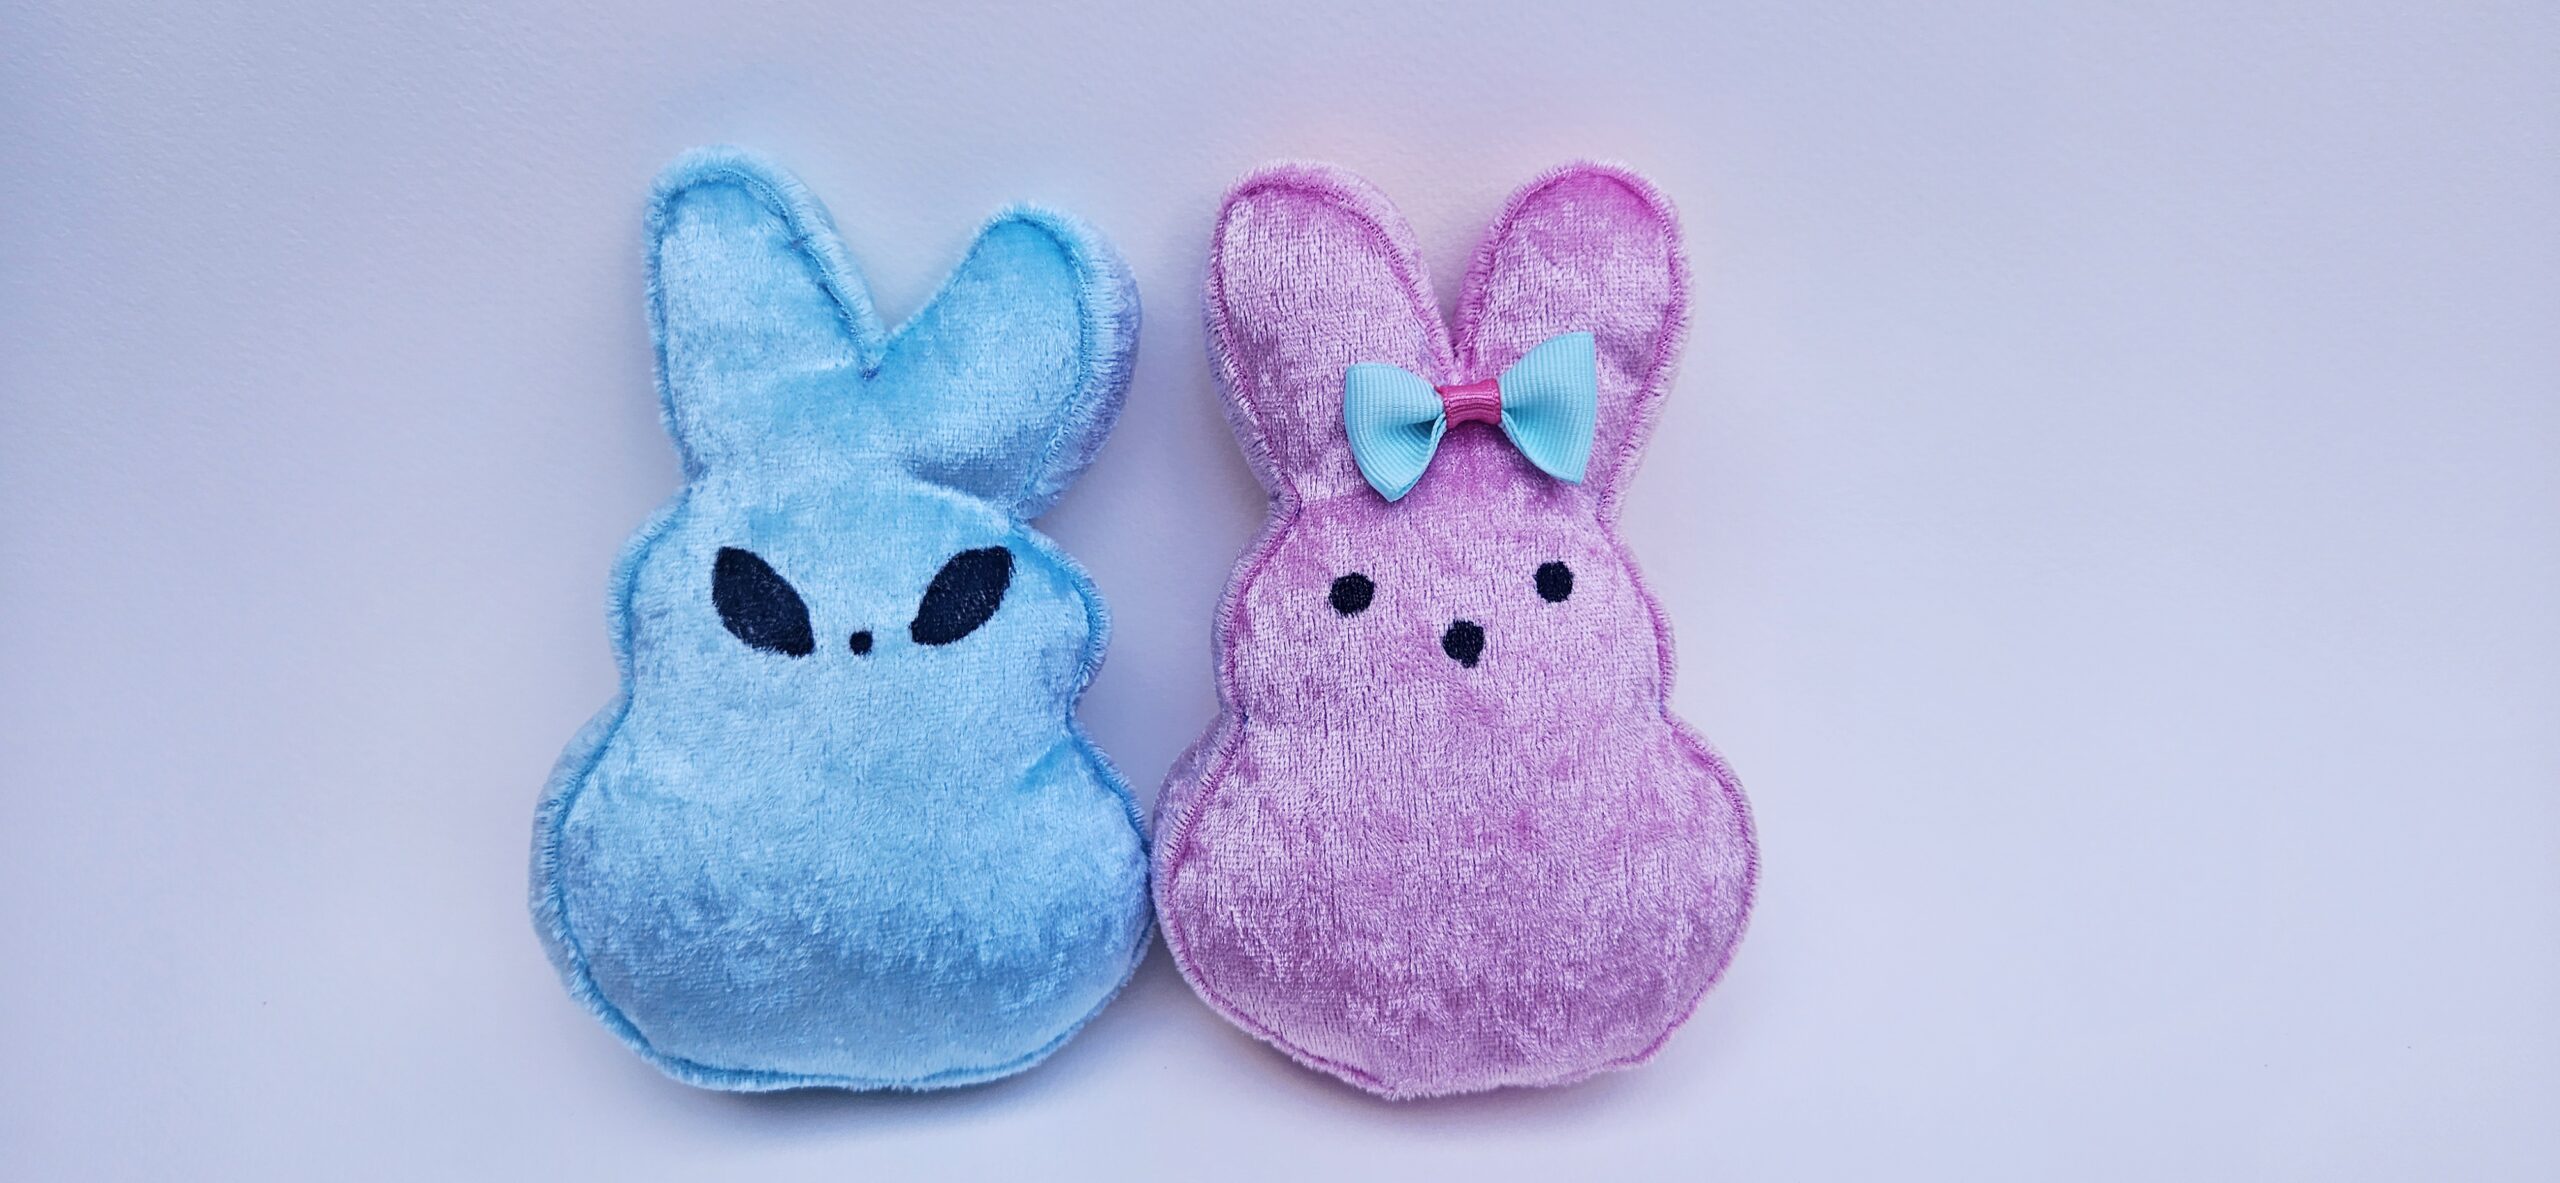
This bunny plush is the perfect companion to put in it’s matching egg purse, or to make on its own! Here’s a tutorial to make your own, and for more visuals check out my youtube video below.
Step 1
Select your fabric. Plush fabrics like minky are great in the finished product, but challenging to sew. I used a crushed velvet which was slinky, but I used fusible fleece to stabilize the main pieces. I did not fuse fleece to the side panel piece so that it would remain stretchy and flexible. Felt or cotton would work well for this plushie as well.

Step 2
For accuracy, first roughly cut the fabric to size, fuse your interfacing to it, then cut your pattern pieces from the fused fabric.

Step 3

Transfer the marks for the face from the front piece. I also transferred pivot points for the sharp curves. You can hand embroider the face, machine embroider, or cut out little felt pieces to hand stitch to the front to make the face. I used acrylic paint and it’s pretty cute.
Step 4
Match the marks on the front and side panel, pin and sew all the way around at ¼” s.a. I wait to sew the side panel loop together until the end in case I stretch it out while sewing, I don’t want to have excess. Sewing the V-shaped curve at the bunny ears was RIDICULOUS with this slinky fabric. In theory, you sew to the middle pivot point, raise your presser foot with the needle in the fabric, push the excess seam allowance from the strip out of the way, lower the presser foot and keep sewing up in the other direction. The body curves were easy to do this way, but the ears were a challenge, they still came out cute though!
For my second bunny I hand basted one side, and then I hand tacked the pivot points and just hand basted the bunny ears to the strip. It took a little longer, but was a lot easier to see where I was supposed to sew when at the machine. Basting it prevented the fabric from shifting after I removed a pin.

Step 5
Carefully trim, clip the curves, and go almost to the edge of the stitching at the pivot points of the head/body curve and the ears, making sure not to actually clip through the stitches. Remove any basting stitches.
Step 6
Do the steps 4-5 to the back side of the bunny, making sure you start and stop at the sewing marks to leave an opening to flip.
Step 7
Flip the bunny plushie right side out and finger press the edges as much as possible. You can sew on accessories now before stuffing if it’s easier for you.
Step 8
Stuff with poly-fill using a chopstick to tightly pack the ears and cheeks.
Step 9
Use a ladder hand stitch to sew the opening closed. Add any other accessories you’d like &.. YAY! You have your own Easter plushie bunny to play with! Hide her in your cute egg carrier purse and enjoy!
If you missed the post on how to sew an egg-shaped plushie purse then check it out here: https://thatsewinglife.com/easter-egg-bag/
And for more fun Easter sewing projects check out these fabric eggs: https://thatsewinglife.com/fabric-easter-egg-tutorial-free-pattern/